Friday, December 30, 2011

Cozy Window Warmers

Happy New Year! This year I’m going to collect my memories in a time capsule jar, an idea that I found on Brassy Apple's blog.

One of my resolutions this year is to fight the winter blues that I sometimes feel on dark and cold days by getting busy! I bought a Pilates mat so I can continue to exercise on the days I don’t have class, I have several winter recipes lined up to try, and of course I am gathering fun decor ideas that will bring cheer to my apartment. 

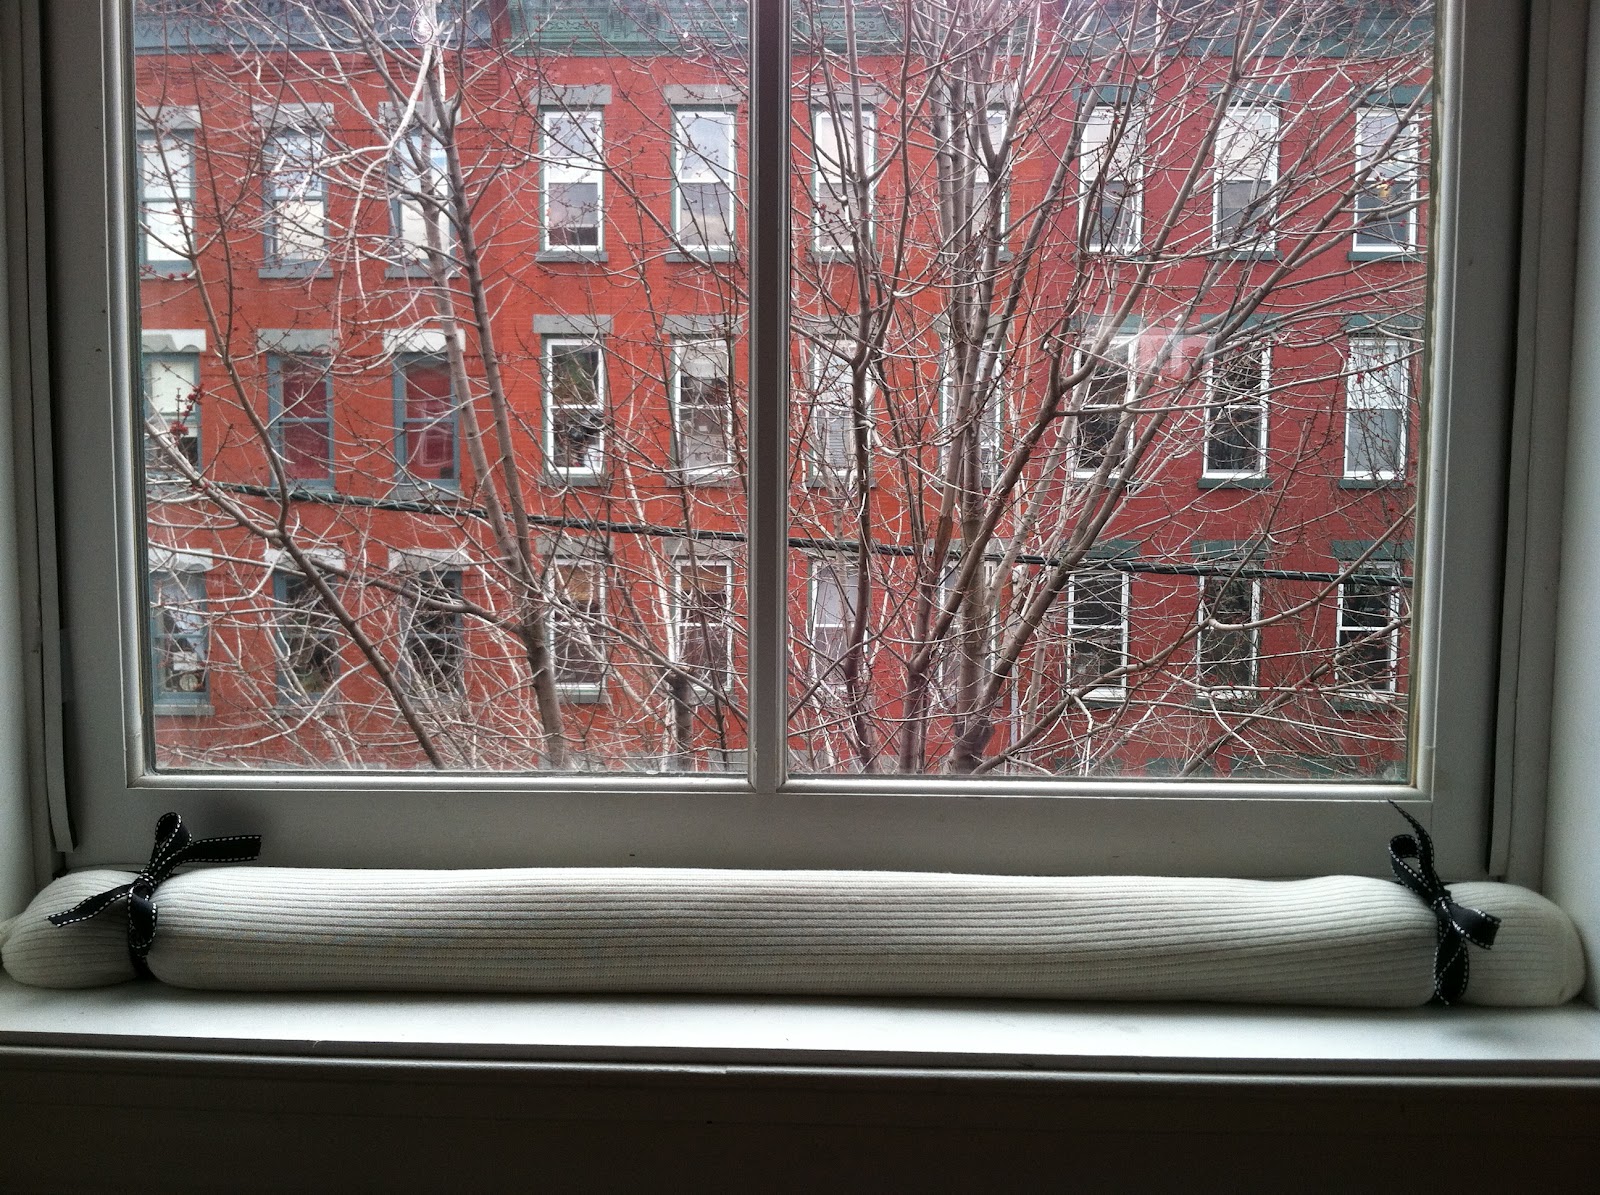
I spent New Years Eve day lounging around and made cozy window warmers for my living room and bedroom windows.  I found this idea on Pintrest, and decided to alter it.  I chose to make warmers that would sit subtly in the background.  They're great for blocking drafts.


Materials:
Stockings (I found these at Marshalls for only $5)


Rice (Each warmer needs about 5lbs of rice.  I bought a 10lb bag for $6.50)
Needle and thread
Scissors
Funnel or small cup to fill the stocking with rice

Method:
1.  Cut the stockings up the middle.


2.  Using a funnel or a small cup, fill the stocking (will need at least 5 lbs of rice.)


3.  Lay the warmer on the windowsill or along the door to measure how long you will need it.  Distribute the rice evenly. 


4.  Cut the stocking a little longer than the length you need.

5. Stitch the open end shut or you can tie a knot. I’m not the best sewer.  Choose a method that works best for you!

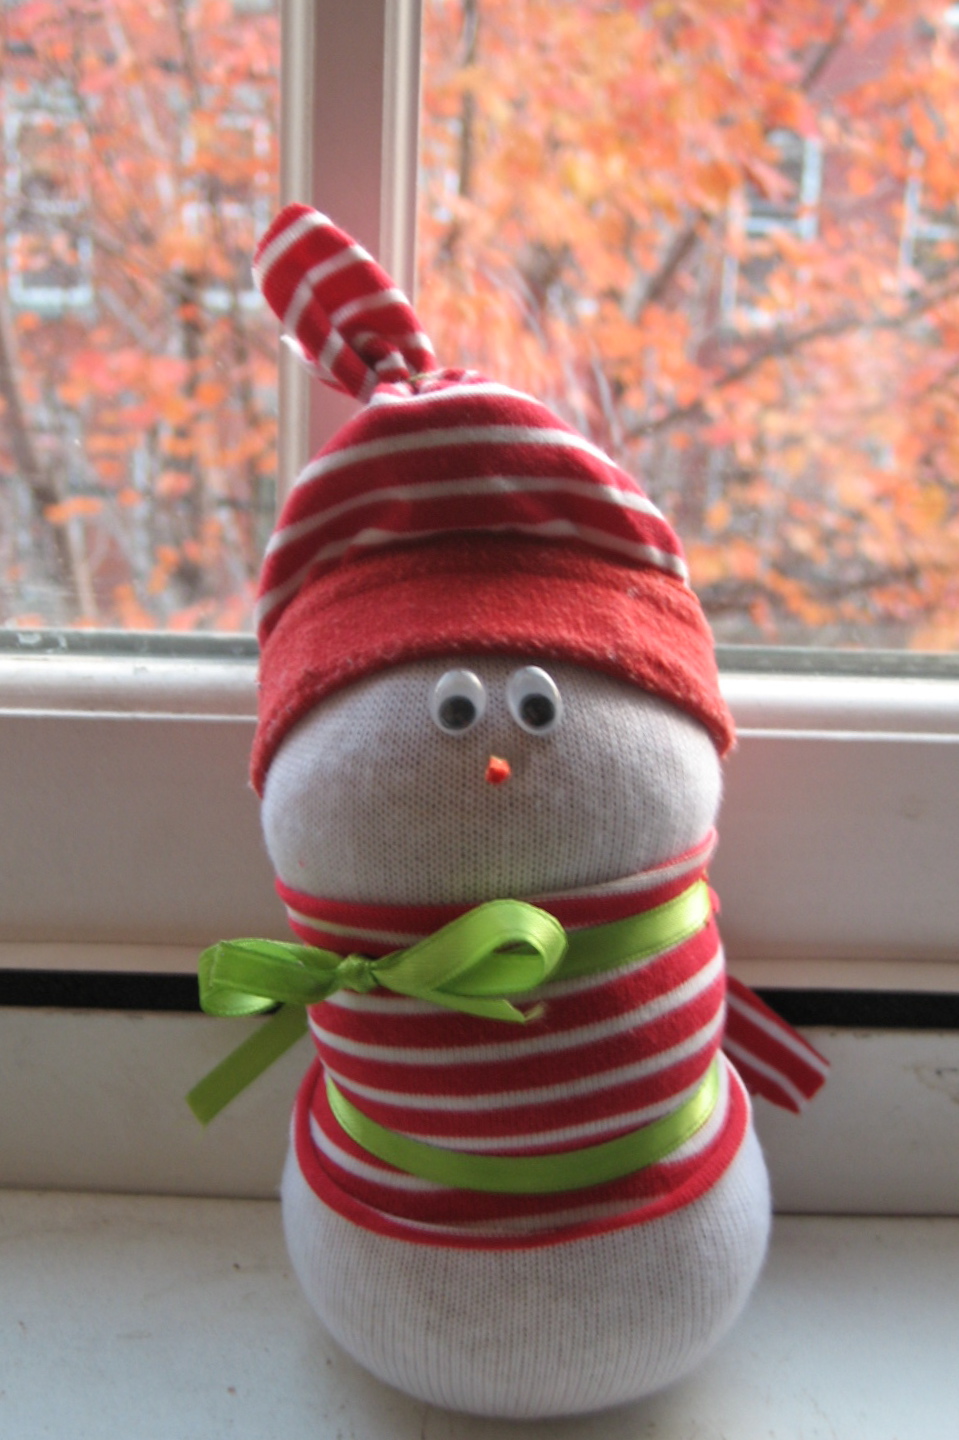
6.  Add a simple detail by using ribbon to create a bow, or follow your own creative intuition.


Stay warm and thanks for stopping by!


Monday, December 26, 2011

Merry Christmas and Happy Boxing Day!

Here in Canada, the day after Christmas is a holiday called Boxing Day.  My friends in the states might be asking, what is Boxing Day? There are different theories about the origin of Boxing Day, but as I was reading I found that no one knows for sure how the tradition started (as you can see here.)  My family spends the day relaxing. (We need to recover from two days full of eating!) We might go to the movies or visit relatives and friends.  

To play off the name, Boxing Day, I'm going to guest feature my Aunt Stephanie who is a pro at wrapping boxes! Each year she uses her creativity to make each gift stylish, unique, and simply beautiful! Here are some pictures of her presents from this year.

 Wired ribbon works great to create the perfect bow.

Ornaments tied to the bow make each box unique and elegant.

I hope you enjoy your holiday, however you spend it!
Thanks for stopping by!


Wednesday, December 21, 2011

Off to Winter Wonder Land!

For the last 26 years my family and I have spent our Christmas holiday at my Sitty's in Nova Scotia.  I'll be heading there soon! For me Christmas isn't the same without being surrounded by family and friends, quaint decorations, and lots of baked goodies.  (Oh and of course a little snow!)  Here is a look at what my Canadian Christmas has looked like over the years....


Vintage homemade stockings!


It's a marshmallow world...

What are your holiday traditions? 

Thanks for stopping by!

Monday, December 12, 2011

Baking, making, decorating...


I've been having fun making holiday treats to share with family, friends, and coworkers!  Yesterday I baked my Sitty's (grandma in Arabic) Molasses Cookies.  They came out delicious, although they can't beat hers. Here's the recipe.

Ingredients:
4 cups flour
1 cup melted shortening
1 cup molasses
1 cup white sugar
1 egg
1/2 cup warm water with 2 tsp. baking soda (stir & dissolve baking soda in warm water; set aside
1 tsp. cinnamon
2 tsps group ginger
1/2 tsp. ground cloves
1 tsp. salt

Method:
Preheat oven to 350. Mix warm water with baking soda and set aside.  In a large bowl add flour, ginger, cinnamon, cloves, and salt.


In another large bowl, mix melted shortening, sugar, molasses, and egg.


Gradually stir the dry ingredients and water mixture into the molasses mixture, alternating them.

Flour counter.  Take dough and flatten it with your hands and a rolling pin.  (If dough is sticky, gradually add more flour.)


Take a round cookie cutter or glass to cut out pieces.


(Note: I found the gingerbread man shape and the circle shape made softer cookies; the cookies from the smaller cut outs were more crispy. To ensure softness, have the dough be 1/4- 1/2 inches thick.)


Bake in oven for 10-12 minutes.
When cooled, dust with powdered sugar.


On to the next! 
I found this Oreo Bark recipe on pintrest and I couldn't resist! If you're a chocolate fan you'll love it. Find the recipe here. It was simple to make: 2 ingredients, 20 minutes.


One last share...
Over the weekend I decided to bring some Christmas cheer to my boyfriend's apartment.  I made due with these little finds:
Picture window hanging decoration.

This was a glass orange juice jar.  Adding greenery to several jars would look great on a window ledge or mantle. 
Simple table center piece. 

Photo credit: David Santiago Caicedo
                                                 
Any ideas for more simple holiday touches?
See more of my decorating here!
Thanks for stopping by!


Monday, December 5, 2011

Happy Decorating!

Little by little I've been decorating my apartment for Christmas.  This week I'm going to get my tree!  Here are three simple projects that I've done to give my apartment a touch of the holiday spirit.

I found this idea in a Good Housekeeping magazine.  This is an easy and economical way to decorate your bookshelf!  Simply cover a few books with holiday wrapping paper and top them off with a construction paper star. 

I got the idea for this cute little snowman here. Check out her tutorial to find out how you can make one too!

P.S. Can you see the leaves still left on the tree outside my apartment?  It's the last tree on my street to still have its leaves!

I found this last project from this site.  I used the same mason jar that I used for the candy corn candle I made for Halloween.  I love how it creates a warm glow!  


How have you been decorating for the holidays?

Thanks for stopping by!

Thursday, November 24, 2011

Sunday, November 20, 2011

Thanksgiving Leaf Place Cards

Thanksgiving is one of my favorite holidays.  I love relaxing in my parents' warm house, with the company of family and friends and the delicious aroma of food!  This year I made place cards for the table by using natural leaves.  Take a look! 

Materials: 
leaves
paper, tape, scissors
twine and ribbon
paper towels
cloth napkins

Method:

1. Gently clean the leaves in soapy water so that your family and guests can rest assure that their place card is clean.


2. Lay the leaves on paper towels to dry.


3. Meanwhile, write the names of your guest on thin strips of paper, or print the names on the computer and cut it into thin strips.


4. When the leaves have dried, cut the name strips so that there is a little overlap with the stem.


5. Pinch the paper to fold around the stem, and secure it with a small piece of tape.


6. Using a piece of twine, tie a knot around the stem and paper. (Cut off the excess.)
      

7. Fold the napkin into a rectangle.  Using a ribbon, tie a bow around the napkin, and insert the name card under the ribbon.

We'll be using chocolate brown colored napkins (this is just an example).  I'll post a picture of the complete place setting after Thanksgiving!

     Here are several of the ones I made.


I hope this project inspired you to add a creative touch to your Thanksgiving table!  Have fun picking out the leaves! There are many beautiful ones to choose from.

Thanks for stopping by, and have a wonderful Thanksgiving!!